 myagent.mxBLOG
deliverability · configure MX records for inbound
Inbound MX Records for Developers: Test Mail Without DNS Changes
Configure inbound MX records with tenant hostnames from your provider; check priorities and delivery using dig, nslookup, and telnet before switching DNS...
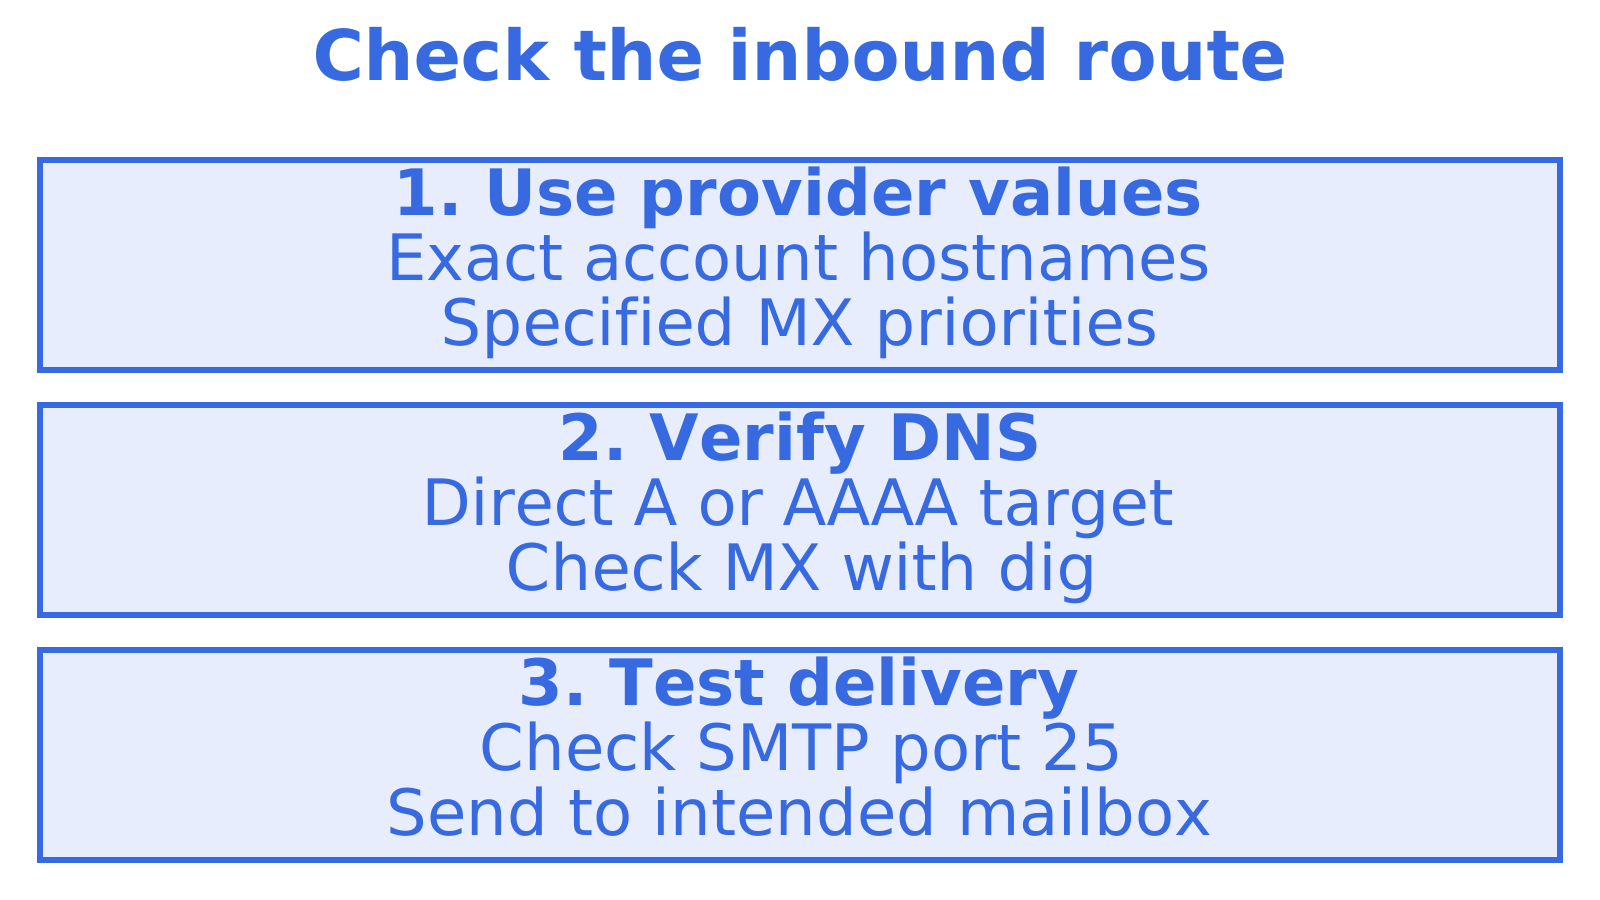
Test incoming mail on @myagent.mx before changing where your business mail arrives. You don’t need to verify your own domain for that mailbox. To configure MX records for inbound mail on your domain, publish the provider’s exact hostnames and priorities in DNS, which supplies the domain’s routing information. MX records tell senders which server receives the mail. Each hostname must resolve directly to an A or AAAA address record rather than a CNAME alias. Verify the values with dig or nslookup. DNSSEC protects DNS answers, and DMARC helps receiving systems assess sender authentication, but you still need to check the inbound route.
TL;DR
- Some providers issue hostnames specific to each account, so avoid generic examples; remove legacy MX entries that could route mail to the previous provider.
- Records with equal priorities can split delivery across hosts; assign distinct tiers, such as 10 and 20, when you need a primary and backup.
- Test SMTP connectivity on port 25 when DNS appears correct but mail does not arrive, since a firewall or host may block that port.
- Before cutover, lower TTL to 300 seconds, test on a subdomain when possible, and keep previous values available for a quick rollback.
Table of Contents
- What an MX record is and how it routes inbound mail
- How to create and configure MX records for inbound email
- MX priority, load balancing and failover behaviour
- Verify and troubleshoot inbound delivery after changing MX records
- DNS tools, commands and online checks to verify MX configuration
- Practitioner notes: tenant hostnames and the shared-domain fallback
- Author checklist before switching MX live
- Testing inbound mail without touching DNS first
- FAQ
- Sources
What an MX record is and how it routes inbound mail
An MX record tells the internet which mail server accepts email for your domain. Each record carries two fields: a preference number (often called priority) and the hostname of the mail exchange server itself. When another mail server has a message to deliver, it looks up the MX records for the recipient’s domain and tries the hostname with the lowest preference number first.
This lookup behaviour is standardised, not a convention individual providers invented. Cloudflare’s explainer confirms that MX records route SMTP delivery and that lower preference numbers win. That single rule has real consequences for how you configure DNS:
- The receiving mail transfer agent (MTA), software that handles delivery, needs an IP address. An MX target must supply it by resolving directly to an A or AAAA record rather than a CNAME alias.
- Sending MTAs follow the preference order. If delivery can’t proceed at one host, another eligible host can be tried.
- Without an MX record, sending systems may fall back to the domain’s A record. Publish explicit MX records so your intended inbound route is clear.
Google Workspace’s own setup documentation makes the CNAME restriction explicit too: MX targets must not point to a CNAME and must resolve directly to A or AAAA records, confirmed in Google’s MX setup guide. Get this part wrong and mail silently fails to route, often with no obvious error on your end.
How to create and configure MX records for inbound email
Copy your provider’s values into the corresponding fields in your DNS panel to configure MX records for inbound email. The steps below cover how to set MX records and check the new route before depending on it.
- Pull the exact MX hostnames and priorities from your provider’s dashboard. Never copy an example from a blog post or a different tenant’s documentation. Google Workspace, for instance, publishes a specific set of hostnames and priorities you add verbatim, as shown in its MX record setup instructions.
- Open your DNS control panel and create a new record with type MX. Set the host or name field to the root domain (
@) or the subdomain you’re routing, depending on where mail should land. - Enter the provider’s hostname as the value, and set the priority field to the number your provider specified, not a number you’ve guessed based on other setups.
- Set a sensible TTL. A lower TTL (such as 300 seconds) before you make changes lets you roll back quickly if something goes wrong.
- Check formatting conventions specific to your DNS panel. Some expect a trailing dot after the hostname (
mx.example.com.), others separate priority into its own field entirely. Amazon SES’s documentation on publishing MX records for inbound email walks through exactly this kind of console-specific formatting, since getting it wrong produces a syntax error rather than a working record. - Remove or disable any legacy MX records left over from a previous provider. An old MX entry with a lower priority number than your new one will intercept mail before it ever reaches the correct destination.
- Confirm the target hostname itself resolves. A correctly formatted MX record pointing at a hostname with no A or AAAA record is just as broken as one pointing at a CNAME.
Try a subdomain first if your provider supports one. You can check delivery there before moving your business’s main domain to the new route.
MX priority, load balancing and failover behaviour
Priority numbers confuse people because the lower number wins, which feels backwards the first time you see it. Treat the number as distance rather than rank: a lower number is closer, so sending servers try it first. NameSilo’s explainer on MX priority frames it exactly this way, noting that priority dictates delivery order and that a lower value is attempted before a higher one.
A few practical points follow from that:
- When two MX records share the same priority, sending MTAs randomise between them to spread load, a behaviour Wikipedia’s MX record entry also documents, adding that genuine failover needs distinct preference tiers rather than identical ones.
- Use the provider’s specified priorities for a primary and backup. A host at 10, for example, is tried before a host at 20, leaving the higher number as a later option.
- Put different providers at the same priority only if both handle the same recipients. A sender’s choice of host can otherwise direct messages to different systems.
Verify and troubleshoot inbound delivery after changing MX records
After publishing MX records, look up the route and test delivery. A successful lookup still leaves you to check whether a message reaches its mailbox.
- Look up MX records with
dig mx example.com +short. Check the hostnames and priorities it returns. - Resolve each returned hostname with
dig A hostname +shortordig AAAA hostname +shortto confirm it points to a real IP address rather than dangling on a CNAME. - Check SMTP reachability on port 25. Try
telnet mailhost 25oropenssl s_client -connect mailhost:25for each MX host, and look for a proper SMTP banner and the expected reply codes. - Check propagation and TTL. Freshly changed records can take time to propagate fully; if your provider’s dashboard reports the MX as invalid immediately after a change, wait out the TTL before troubleshooting further.
- Look for the specific, common faults: a leftover old MX record still present, a missing trailing dot where your DNS panel requires one, a priority number entered into the wrong field, or port 25 blocked by a firewall or your hosting provider.
Amazon SES’s guide on publishing MX records for inbound email makes the point that testing SMTP connectivity directly is often the fastest way to catch a blocked port, since a DNS check alone can look perfectly correct while delivery still fails at the network layer.
Pro Tip: When dig returns the right records but SMTP times out, check whether your network or hosting provider blocks outbound port 25 before blaming DNS.
DNS tools, commands and online checks to verify MX configuration
A handful of commands cover almost every verification scenario you’ll run into:
dig mx example.com +shortlists the current MX records and priorities for a domain, and following it withdig A hostname +short(orAAAAfor IPv6) confirms the target actually resolves.- Without
dig, look up MX records usingnslookup -type=mx example.comorhost -t mx example.com. - An online MX lookup shows the published route without a terminal. Some tools show SPF too, the record used for sender authorisation. For inbound routing faults, check the MX values separately.
- SMTP connectivity tests (telnet or
openssl s_clienton port 25) confirm the mail server actually accepts connections, which a DNS-only check can’t tell you, and they’re worth running specifically when DNS looks correct but mail still isn’t arriving, since some ISPs and hosts block port 25 outright.
Practitioner notes: tenant hostnames and the shared-domain fallback
An MX hostname may be specific to your account or team. Use the value your provider shows for your account. If a tutorial and your dashboard disagree, the dashboard’s hostname is the one to use, even when the example looks plausible.
Copying a generic public MX example instead of a tenant-specific value is one of the most common causes of inbound mail never arriving on multi-tenant platforms.
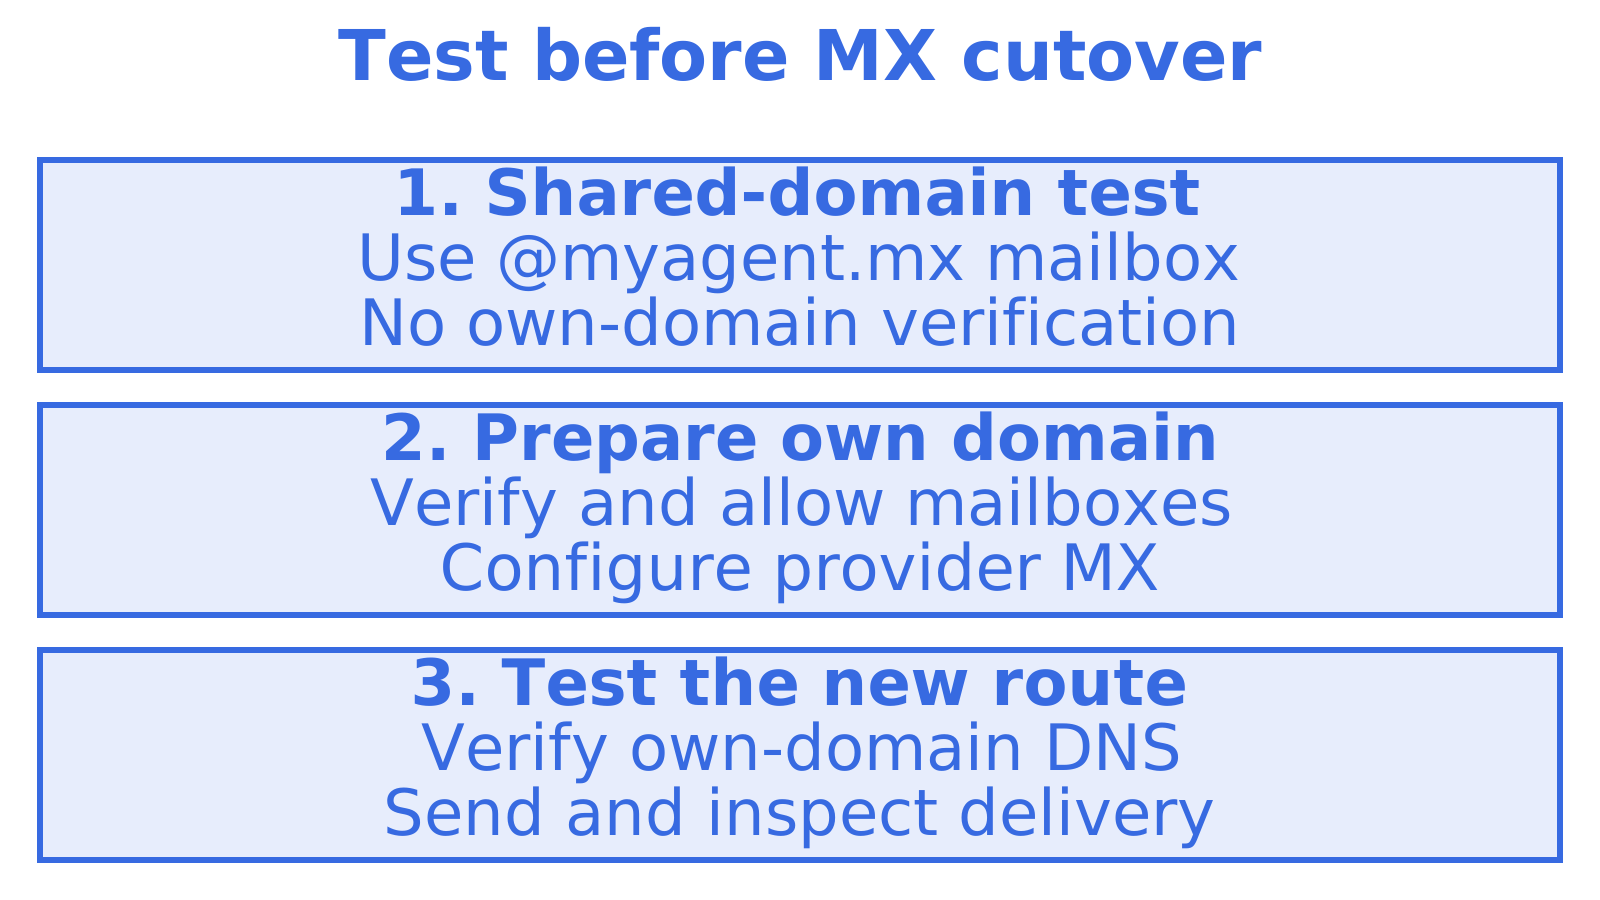
We provide mailboxes on the shared @myagent.mx domain without requiring you to verify your own domain. Custom-domain mailboxes require a verified domain configured to allow mailboxes. The Mailbox API can retrieve message content and search snippets. Once a test message arrives, retrieving its content lets you inspect what your application received. For the next step, read our inbound email parsing API guide.
Author checklist before switching MX live
Before cutover, confirm your account’s MX hostnames and priorities, lower TTL in advance and test a separate subdomain if supported. A shared-domain mailbox tests message handling. It can’t verify your own domain’s MX configuration. Save the old DNS values, replace the route at cutover and send a message to the intended recipient. If delivery fails, restore those saved values, allowing for cached answers.
Testing inbound mail without touching DNS first
You can provision a mailbox on @myagent.mx without verifying a domain of your own. Custom-domain mailbox provisioning requires that domain to be verified and configured to allow mailboxes. Start with the Sendmux inbox setup to test receiving a message before configuring your own domain.
FAQ
What is an example of an MX record?
A typical MX record looks like example.com. MX 10 mail.example.com., where 10 is the priority and mail.example.com is the hostname handling inbound mail. Google Workspace and Amazon SES each publish their own specific hostnames and priority values that you copy directly from their setup documentation rather than from a generic example.
Where do I find MX records?
You can look up any domain’s current MX records with dig mx example.com +short or nslookup -type=mx example.com from a terminal. Online MX lookup tools offer the same information through a browser, which is useful for a quick check without command-line access.
Do I need an MX record to send emails?
No, MX records control inbound mail routing, not outbound sending. Some mail systems fall back to a domain’s A record when no MX exists, but RFC 5321 treats that as a fallback behaviour rather than something to rely on for predictable delivery.
How to create an MX record?
Log in to your DNS control panel, add a new record with type MX, set the host to your root domain or subdomain, and enter the hostname and priority number your mail provider supplied. Confirm the target hostname resolves to an A or AAAA record, then verify with a dig or nslookup command once the change propagates.
Sources
- Set up MX records for Google Workspace Domain management Google Workspace Help
- What is a DNS MX record? | Cloudflare Learning
- What is MX Record Priority and How Does It Work | NameSilo | Namesilo Blog
- Publishing an MX record for Amazon SES email receiving | Amazon SES Developer Guide
Recommended
Give an agent its own address
Sendmux is the Email Inbox API for AI Agents.