 myagent.mxBLOG
deliverability · custom domain email setup
Working Inbox in Under an Hour: Custom Domain Email and API Choices for SMBs
Small business roadmap for custom domain email: set DNS, SPF/DKIM/DMARC, test and migrate, and learn when an API inbox is the better choice.
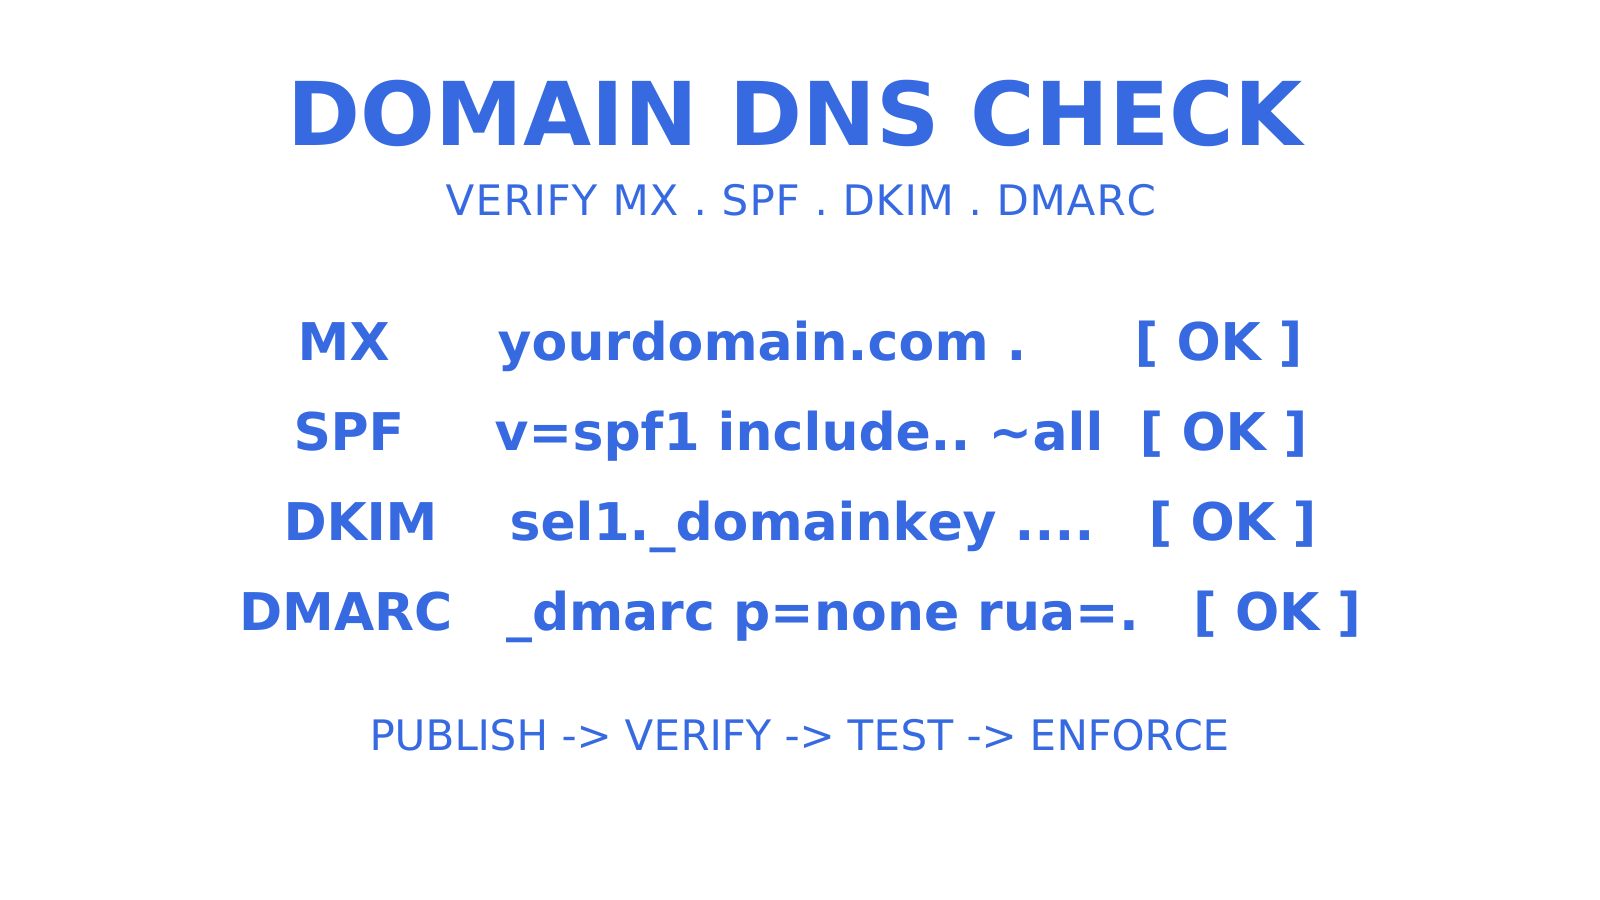
Yes, you can run email on your own domain, and you have two real paths to get there: a hosted mailbox service like Google Workspace or Microsoft 365, or a developer-friendly API/SMTP provider. Your first move is simple. Decide which model suits you, then get into your domain registrar and confirm you have DNS access, because every step after this depends on it.
TL;DR
- Using a hosted mailbox service like Google Workspace or Microsoft 365 simplifies setup and offers immediate inbox access, ideal for small teams.
- Proper DNS configuration, including domain verification, MX, SPF, DKIM, and DMARC records, is essential to ensure email authenticity and prevent deliverability issues.
- Staging DNS changes and verifying each authentication record individually prevents support issues and ensures consistent mail flow.
- Regularly monitoring DMARC reports and rotating DKIM keys enhances ongoing security and reduces the risk of spoofing or domain abuse.
- API-based solutions like Sendmux are better suited for automating large-scale mailbox provisioning and management, often with no per-mailbox fees.
Table of Contents
- Custom domain email setup checklist
- Setting up custom domain email step by step
- SPF, DKIM and DMARC: the records that stop your mail getting marked as spam
- Testing your setup and fixing what breaks
- Keeping custom domain email secure after launch
- Author note: developer resources for going deeper
- Migrating existing emails and contacts to your new domain
- Setting up your mail client on desktop and mobile
- Choosing between DIY hosting and a developer inbox
- When an API inbox makes more sense than a mailbox login
- Sources
- FAQ
Custom domain email setup checklist
Before you touch a single DNS record, work through this in order. Skipping steps is how mailboxes end up half-verified and mail bounces silently for days.
- Confirm domain ownership. Log into your registrar or DNS host (GoDaddy, Cloudflare, Namecheap, whichever you used) and make sure you actually have edit rights on the zone file.
- Choose your hosting model. Pick a hosted mailbox provider, a reseller, or an API/SMTP service, depending on how many mailboxes you need and whether you want automation.
- Verify the domain. Add the TXT or CNAME record your provider gives you, then publish MX records so mail actually routes to the right servers.
- Add authentication records. Publish SPF, a DKIM selector, and a starter DMARC record with
p=noneand arua=reporting address. - Create mailboxes and aliases. Set up named addresses, configure IMAP/SMTP in your mail clients, or generate API keys if you’re going the developer route.
- Test before you enforce anything. Send real messages, inspect the headers, and watch your DMARC reports for a couple of weeks before tightening policy.
That sequence exists because DNS changes propagate at different speeds and mail servers cache old records. Working out of order almost always costs you a support ticket later.
Setting up custom domain email step by step
This is the part most guides gloss over: the actual clicking, typing, and waiting. Here’s what happens at each stage, plus the traps that catch people even when they’ve read the instructions correctly.
Pick the domain and confirm you control it. If you’re buying a new domain, an extension like .com, .com.au, or .io all work fine for email, since mail servers don’t care about the extension. What matters is that your WHOIS record and DNS zone are accessible to you, not locked behind an old web developer’s account. If you inherited a domain from someone else, resolve that access issue first. Nothing downstream works without it.
Decide between hosted mailboxes and a developer/API route. A hosted mailbox (Google Workspace, Microsoft 365, or a smaller reseller) gets you a working inbox with a web interface in under an hour, and it suits a solo operator or small team that wants email to just work. The trade-off is per-seat pricing and limited automation. An API or SMTP provider suits you if you’re spinning up dozens of mailboxes, routing mail programmatically, or building a product that sends on behalf of customers. Government guidance on business email confirms the core steps are the same either way: get a domain, choose hosting, create addresses, configure your apps.
Verify the domain with your provider. Most providers ask you to add a TXT record with a unique token, or occasionally a CNAME, to prove you own the domain before they’ll activate mail services on it. Microsoft 365’s setup documentation walks through this clearly and even supports Domain Connect on some registrars, which autofills the records for you. Verification success usually shows as a green tick in the admin console within minutes, though the DNS lookup behind it can take longer to settle globally.
Set your MX records exactly as instructed. This is where people trip up. MX records tell the internet which server should receive mail for your domain, and they need to match the provider’s documentation character-for-character, including trailing dots where the interface expects a fully qualified hostname. Get the priority number wrong (lower numbers are tried first) or leave an old MX record from a previous host sitting in the zone, and mail either bounces or gets delivered to the wrong place.
Create mailboxes, aliases, and client settings. Once MX is live, add your named mailboxes: you@yourdomain.com, plus aliases like sales@ or support@ that forward into a shared inbox. For desktop and mobile mail clients, you’ll need the IMAP host (for reading mail), the SMTP host (for sending), and the right ports, typically 993 for IMAP over SSL and 587 for SMTP with STARTTLS.
Going the API route instead? Generate SMTP credentials or an API key from your provider’s dashboard, set your Return-Path and envelope sender correctly, and send a test message using curl or your provider’s SDK before wiring it into production code.
A few DNS habits will save you hours of confusion:
- Check proxying on any DNS record a mail service depends on. Cloudflare only allows proxying on A, AAAA and CNAME records — TXT and MX records there are always DNS-only — so on a Cloudflare-hosted zone the orange cloud matters for authentication or verification CNAMEs and any A/AAAA mail host, not for TXT or MX lookups, which stay plain-text either way.
- Double-check whether your DNS panel wants a fully qualified hostname (ending in a dot) or assumes the domain suffix automatically, since mixing the two conventions is a common source of failed verification.
- Keep a plain-text log of every record you add, with the date, because you’ll need it when troubleshooting six months from now.
Pro Tip: Change one authentication record at a time and wait for it to verify before adding the next. Stacking SPF, DKIM, and DMARC changes in a single sitting makes it nearly impossible to tell which record broke something if mail suddenly stops arriving.
SPF, DKIM and DMARC: the records that stop your mail getting marked as spam
These three records exist for one reason: they tell receiving mail servers your messages genuinely came from you, not someone spoofing your domain. Skip them, and even perfectly legitimate mail lands in spam folders more often than it should.
SPF (Sender Policy Framework) lives on your domain’s return-path, the address mail servers check behind the scenes, not the “From” address a human sees. A typical SPF record looks like v=spf1 include:_spf.google.com ~all and lists every service authorised to send on your behalf. SPF also limits the DNS-querying terms it evaluates — mechanisms like include, a, mx, ptr, exists and redirect — to 10, and RFC 7208 requires a receiver that exceeds the limit to return permerror, so stacking too many includes doesn’t break quietly; it breaks visibly to whoever checks.
DKIM (DomainKeys Identified Mail) signs your outgoing mail with a cryptographic key, and the public half of that key sits in a DNS record named selector._domainkey.yourdomain.com. RFC 6376, the standard that defines DKIM, specifies that selectors let you run multiple keys at once, which is exactly how key rotation works in practice. Use a 2048-bit key for anything in production; the older 1024-bit keys are considered weak.
DKIM for subdomains needs its own setup. What matters is the signing domain in the d= value, not the visible From address alone: key lookup follows selector._domainkey.<signing domain>, so a separate signing subdomain needs its own selector published. A subdomain From address does not automatically need its own selector — signing with the parent domain’s key can still align under DMARC’s relaxed mode — but if you sign with d=updates.yourdomain.com, that exact signing domain needs the record, a detail that trips up small teams running a separate subdomain for marketing sends.
CNAME delegation is worth understanding if you’re using a third-party sending provider. Instead of publishing the raw DKIM TXT record yourself, you point a CNAME at a hostname the provider controls, and they manage the underlying key, including rotation, without you touching DNS again. CNAME delegation lets a provider host the actual SPF and DKIM records the receiver checks, which is particularly handy for isolating a high-volume third-party sending stream on its own subdomain.
DMARC (Domain-based Message Authentication, Reporting and Conformance) builds on SPF and DKIM and passes only when at least one of them authenticates in alignment with the visible From domain — both can pass individually and DMARC can still fail if neither aligns. Its policy then asks receivers what to do with unauthenticated mail, while final handling stays each receiver’s own call. The rollout has a well-worn shape:
| Phase | Policy | Typical duration | Purpose |
|---|---|---|---|
| Monitor | p=none |
2 to 4 weeks | Collect reports without asking receivers to act |
| Transition | p=quarantine |
4 weeks | Ask receivers to treat suspicious mail as spam, not block it outright |
| Enforce | p=reject |
Ongoing | Ask receivers to reject unauthenticated mail |
The standard ties the transition to what your aggregate reports actually show, not to fixed calendar periods: treat these durations as illustrative planning windows you adjust to your reporting evidence, and remember authentication failures can still affect delivery while you sit at p=none. Jumping straight to p=reject on day one is how legitimate mail starts silently disappearing.
Alignment is the part that catches people out. SPF and DKIM can both pass individually, yet DMARC still fails, because DMARC requires the domain in those checks to align with the visible “From” address. This usually happens after a message gets forwarded or relayed through a third party. DKIM tends to survive forwarding better than SPF, so getting DKIM alignment right first is the more reliable fix.
Testing your setup and fixing what breaks
Send a real test message to a Gmail address before you touch enforcement settings. Open it, find “Show original,” and check the Authentication-Results header. You want to see spf=pass, dkim=pass, and dmarc=pass sitting together, with the d= value in the DKIM signature matching your actual sending domain.
Read your DMARC aggregate reports. The rua= address you set earlier starts receiving XML reports from Google, Microsoft, and other major receivers, usually daily. Run them through a free aggregator to turn the XML into a readable table, then look for any sending source showing spf=fail or dkim=fail. That’s almost always an old marketing tool, a CRM, or an invoice system you forgot was sending on your domain.
Common fixes, in order of how often they come up:
- A DKIM selector hostname typo, one character off, and the whole signature fails silently.
- Proxying left switched on for a proxiable record type a mail service reads, such as an authentication or verification CNAME, which hides the actual value from mail servers.
- The provider’s DKIM signature using a different
d=value than the domain you verified, usually because a subdomain wasn’t configured separately.
Pro Tip: Lower your DNS TTL to 300 seconds a day before making authentication changes, then push it back up to 3,600 or higher once everything checks out. It won’t make propagation instant, but it stops a bad record from lingering for 48 hours while you wait for the fix to take.
Keeping custom domain email secure after launch
Getting SPF, DKIM, and DMARC live is the start, not the finish. A domain left unattended for a year tends to accumulate weak points nobody’s watching.
- Put multi-factor authentication on every mail account and on your registrar login, since a compromised DNS panel is worse than a compromised mailbox.
- Rotate DKIM keys periodically through new selectors, and keep a running list of which selector belongs to which sending source, because you’ll eventually need to retire one without breaking the others.
- Treat your DMARC
ruareports as ongoing telemetry, not a one-time setup task. Someone on your team should own checking them weekly, catching new senders before they cause a failure spike. - If you bring on a marketing vendor or transactional email tool, delegate them to a dedicated subdomain rather than your root domain, so a misconfiguration on their end doesn’t touch your main mail flow.
- Export your mailboxes periodically using IMAP export or your provider’s built-in backup tool, since relying on the provider’s own retention policy as your only backup is a gamble you don’t need to take.
Author note: developer resources for going deeper
This guide draws on how myagent.mx approaches agent mailbox tooling, with a focus on the DNS and authentication mechanics that determine whether mail actually lands. The step-by-step advice here holds whether you’re setting up one mailbox by hand or provisioning hundreds through an API.
If you’re weighing the developer route, a few signals suggest it’s worth the extra setup time:
- You need automation across many mailboxes rather than one or two people checking a web inbox.
- You’re building a product that sends or receives mail on behalf of your own customers.
- You want programmatic control over routing, retries, and delivery logs rather than relying on a provider’s dashboard.
For the technical detail on verification tokens, DKIM selectors, and DMARC records specifically for developers, the domain verification walkthrough covers the DNS side in more depth than a general setup guide can.
Migrating existing emails and contacts to your new domain
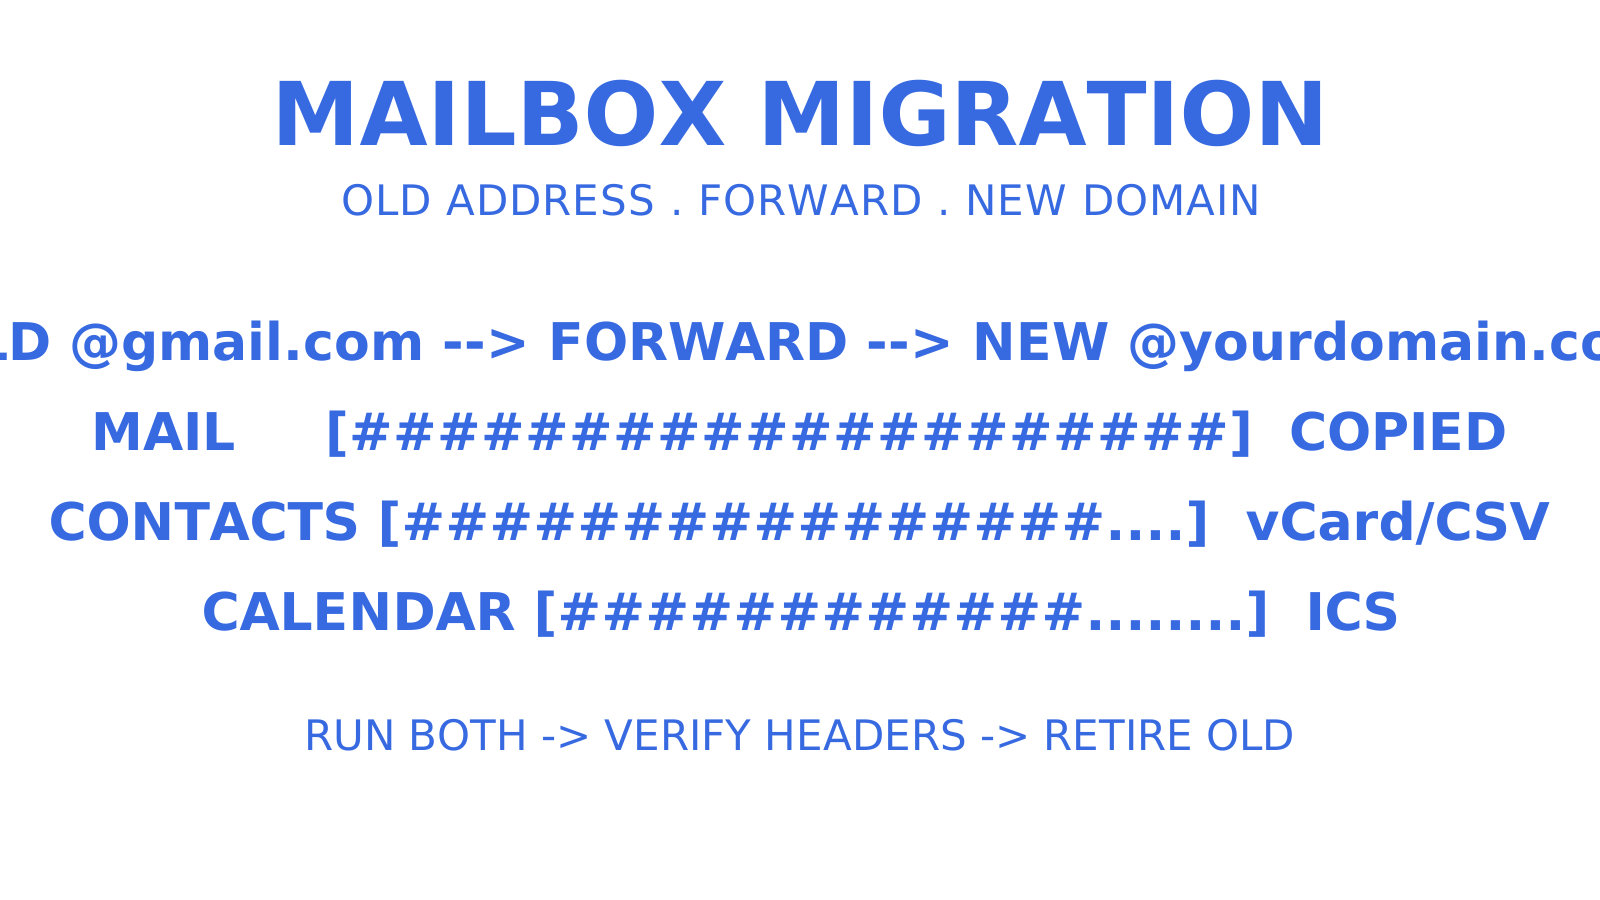
Moving from an old address to a new custom domain is a data problem before it’s a DNS problem. Most hosted providers, including Google Workspace and Microsoft 365, include a migration wizard that connects to your old mailbox over IMAP and copies messages, folders, and read/unread status across. For contacts, exporting to CSV or vCard and importing into the new service usually works cleanly. For calendars, import the standard iCalendar (.ics) format where possible, or a provider-supported CSV; repeat events imported from CSV can arrive as separate events, so check recurring entries afterward.
The trickiest part isn’t the technical copy, it’s the transition period where people are still emailing your old address. Set up forwarding from the old mailbox to the new one for at least a few months, and watch the old mailbox, or its delivery logs, for mail still arriving from clients or vendors who haven’t updated their address book — DMARC rua reports tell you who is sending on behalf of your domains, not who is sending to your old address, so keep them focused on sender authentication during the transition. If you’re moving from a free consumer address (a Gmail.com or Outlook.com account) to a custom domain, update it everywhere it’s registered first: banking, government portals, and any account recovery settings, since those are the ones with real consequences if you lose access to the old inbox too early.
Run both mailboxes in parallel until you’ve confirmed the new one authenticates cleanly and nothing important is still landing in the old one.
Setting up your mail client on desktop and mobile
Once your mailboxes exist, connecting them to the apps you actually use daily is mostly a matter of entering the right server details, or letting autodiscovery do it for you.
Most modern email apps, including Outlook, Apple Mail, and the default Android and iOS mail apps, support autodiscovery: type your email address and password, and the app finds the IMAP and SMTP settings automatically using DNS records your provider publishes. When autodiscovery fails, you’ll need to enter the details manually: the IMAP server address for receiving mail, the SMTP server address for sending, port 993 for IMAP over SSL, and port 587 for SMTP with STARTTLS enabled. Get the encryption setting wrong and the app will either fail to connect or connect insecurely.
On mobile specifically, check what authentication your provider’s mobile path actually supports. Google supports app passwords where 2-Step Verification is on, while Exchange Online has removed Basic authentication for IMAP, POP and Exchange ActiveSync, so those connections need a supported OAuth login rather than an app password — assuming a missing app password is the sync problem is one of the more common wrong turns. Once one device is configured correctly, note down the exact server, port, and security settings you used, because you’ll need them again for every laptop, tablet, and phone your team adds afterward.
Choosing between DIY hosting and a developer inbox
A hosted mailbox suits a small business prioritising low friction: one or two people, a web interface, and someone else handling deliverability. An API inbox suits automation, agent-driven workloads, or anything needing dozens of mailboxes provisioned programmatically. Before deciding, weigh mailbox count, how much automation you actually need, who owns deliverability monitoring, and your budget.
When an API inbox makes more sense than a mailbox login
Everything above works whether you’re managing one mailbox or fifty by hand. But once you’re past a handful, adding each one through a web console gets tedious fast, and it doesn’t scale to the kind of automated, agent-driven mail handling more small teams are building now.
Sendmux takes a different approach: rather than paying per seat or per mailbox, you get real mailboxes on your own verified domain (or the included @myagent.mx domain with zero DNS setup) and interact with them through a proper API, SMTP, or IMAP, with SDKs covering TypeScript, Python, Go, PHP, Ruby, and Rust. There’s no per-mailbox fee sitting on top of usage, which matters the moment you’re running ten mailboxes instead of one. It also fills the gap the migration and testing sections above point to directly: instead of hand-verifying each domain and checking headers manually, the Sendmux inbox platform handles domain verification, delivery logs, and authentication status in one dashboard.
If you’re building something that needs a mailbox provisioned automatically rather than clicked into existence, start with the product documentation to see how mailbox creation and custom-domain verification work through the API.
Sources
For the technical specifics behind this guide, RFC 6376 is the authoritative source on DKIM selectors and signature mechanics. DMARC.com’s explainer on quarantine versus reject is worth reading before you flip enforcement on, and DMARCPal’s delegation checklist covers CNAME-based key management in more depth than most provider docs bother to. If you’re setting up a shared support inbox as part of this move, SendSync’s guide to creating a support address walks through the shared-inbox side of things, and TrailerCast’s notes on custom-domain sending add a few practical DNS examples worth cross-checking against your own.
FAQ
Can I set up an email with my own domain?
Yes. You need a domain you control, a mail hosting service or API/SMTP provider, and the ability to edit DNS records for MX, SPF, DKIM, and DMARC. Once those records verify, you can create mailboxes and connect them to any mail client.
Is there a free email service with a custom domain?
Some providers offer limited free tiers, though most full-featured hosted mailbox services charge per user. On the developer side, some providers include a shared domain with free mailboxes and no DNS setup required, with usage-based pricing once you move past the free plan or connect your own domain.
How much does it cost to set up a custom email domain?
Costs vary by provider and hosting model. Hosted mailbox services typically charge a monthly per-user fee, while some API-based providers charge for usage instead, starting at a certain pro plan monthly fee plus per-recipient and storage fees, with no per-mailbox charge.
What is the most hacked email provider?
There’s no single definitive answer, since attacks target accounts more often than a specific provider’s infrastructure. Weak passwords and missing multi-factor authentication are well-established account-security failures, while unmonitored DMARC reports are a missed spoofing signal rather than a proven cause of account compromise: DMARC telemetry covers who is sending as your domain, not whether a mailbox account is safe, regardless of which provider hosts the mail.
Give an agent its own address
Sendmux is the Email Inbox API for AI Agents.